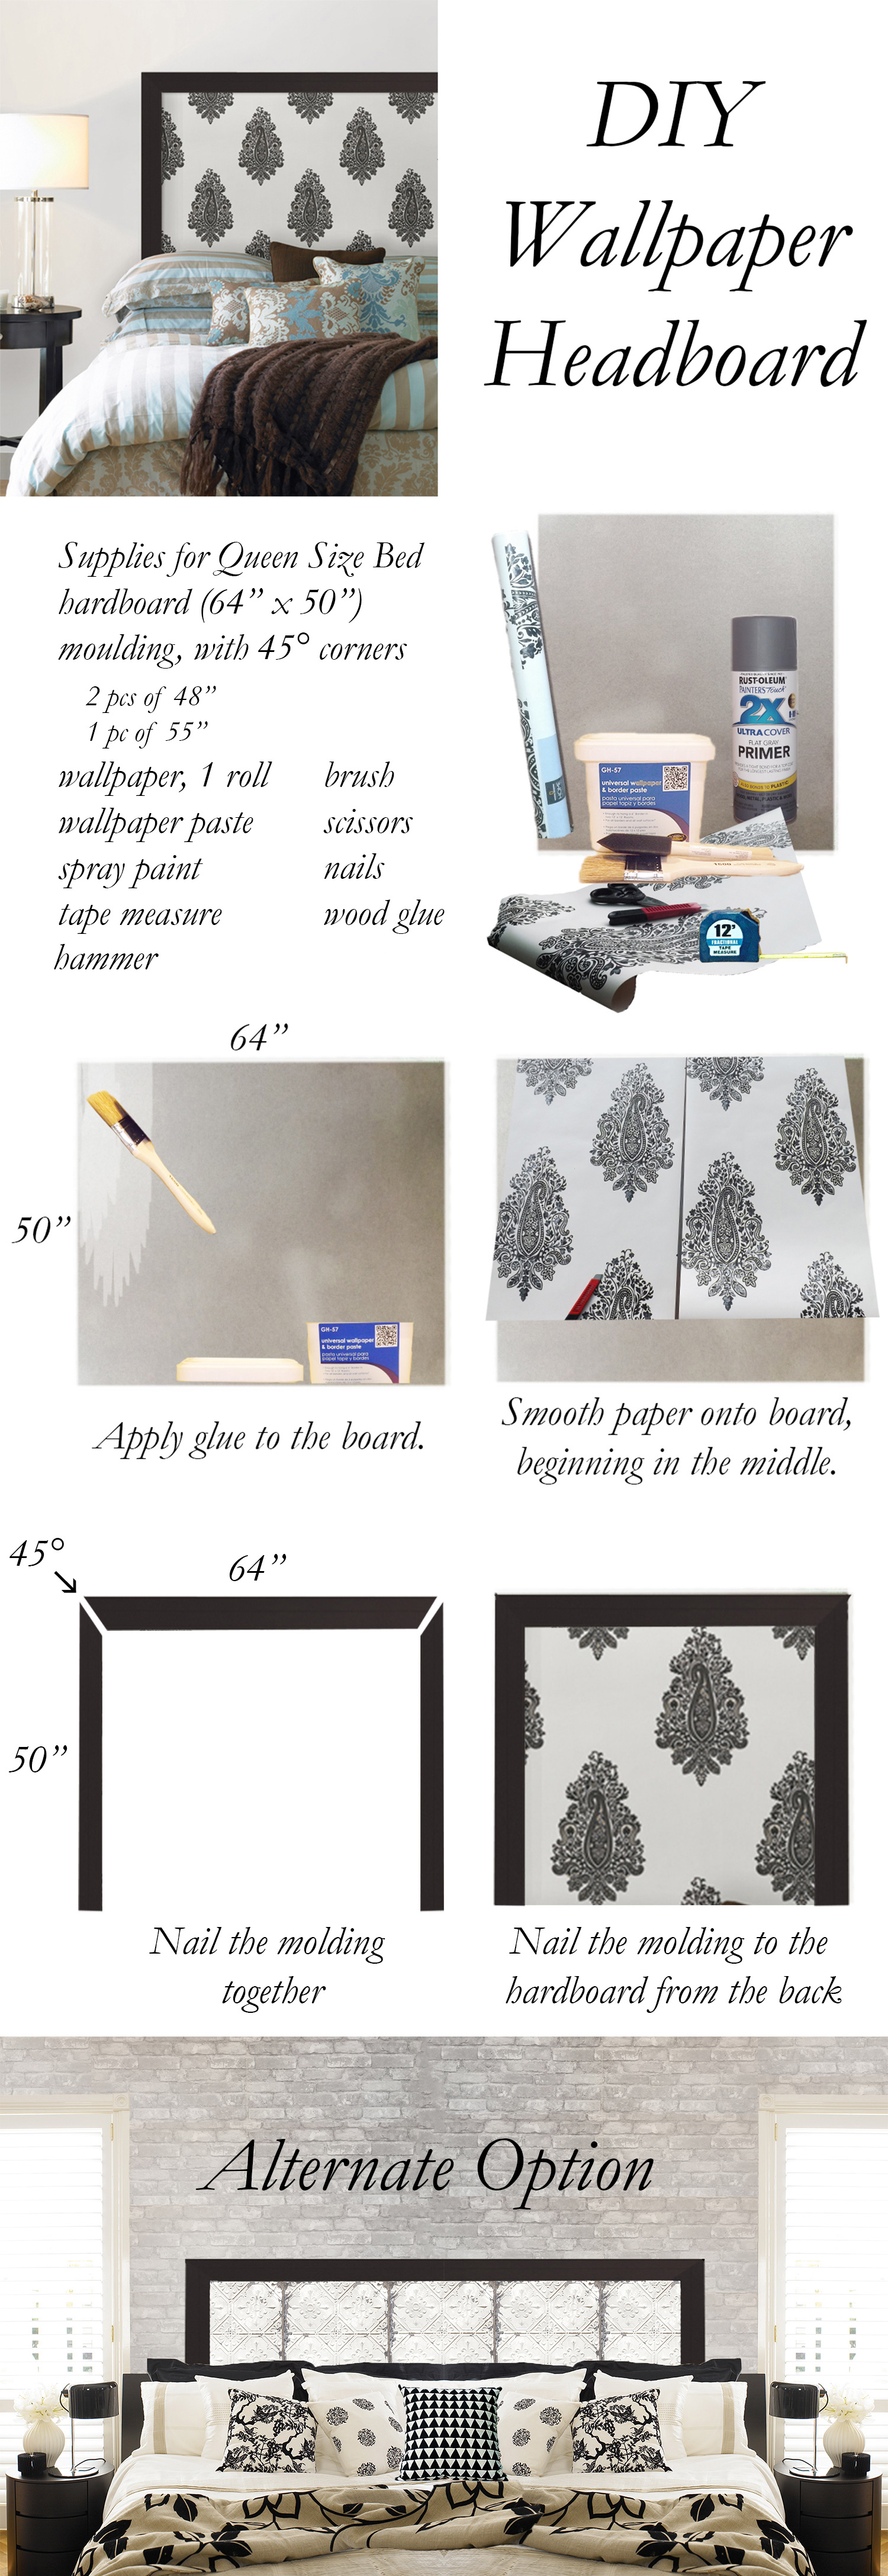
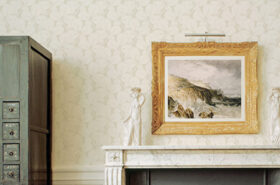
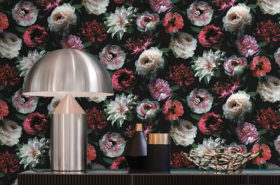
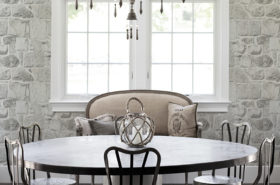
Give Your Bedroom A New Look

This DIY wallpaper headboard is a simple way to give your room a fresh, polished look.
For the main project we used the Mehndi White Paisley, and for the alternate option we used the new White Tin Ceiling Tiles from Reclaimed.
Much less expensive than a traditional bed headboard, this is the perfect way to create a custom piece that is all your own. You can choose your wallpaper pattern from classic quilted to modern geometric, and what kind of trim you use from ornate to minimal.
How To Make Your Own Headboard
1. Cut your wallpaper into strips, centering your pattern on the middle of the headboard. Leave a few extra inches on the sides, top, and bottom to cover the edges later.
2. Apply the paste to the board, slowly smoothing on the wallpaper. Line each strip next to the previous, being careful to not overlap or create gaps.
3. Smooth out any air bubbles or wrinkles and remove excess paste with a damp cloth.
4. Allow your hardboard to dry.
5. Begin working on the back of your headboard, wrapping the edges with the extra wallpaper from earlier.
6. Assemble the moulding, meeting up the top and side pieces at the corners and joining with nails. Use glue if necessary.
7. Optional step: paint or stain your moulding to match your wallpaper. .
8. Attach moulding to the front of the hardboard, hammering small nails through the back. Be careful that the nails don’t poke through the front of the moulding.
9. Add hanging hardware to the back of your headboard and hang it behind your bed.
If you try this DIY, we would love to see! tag us on Instagram or Facebook @BrewsterHome.


