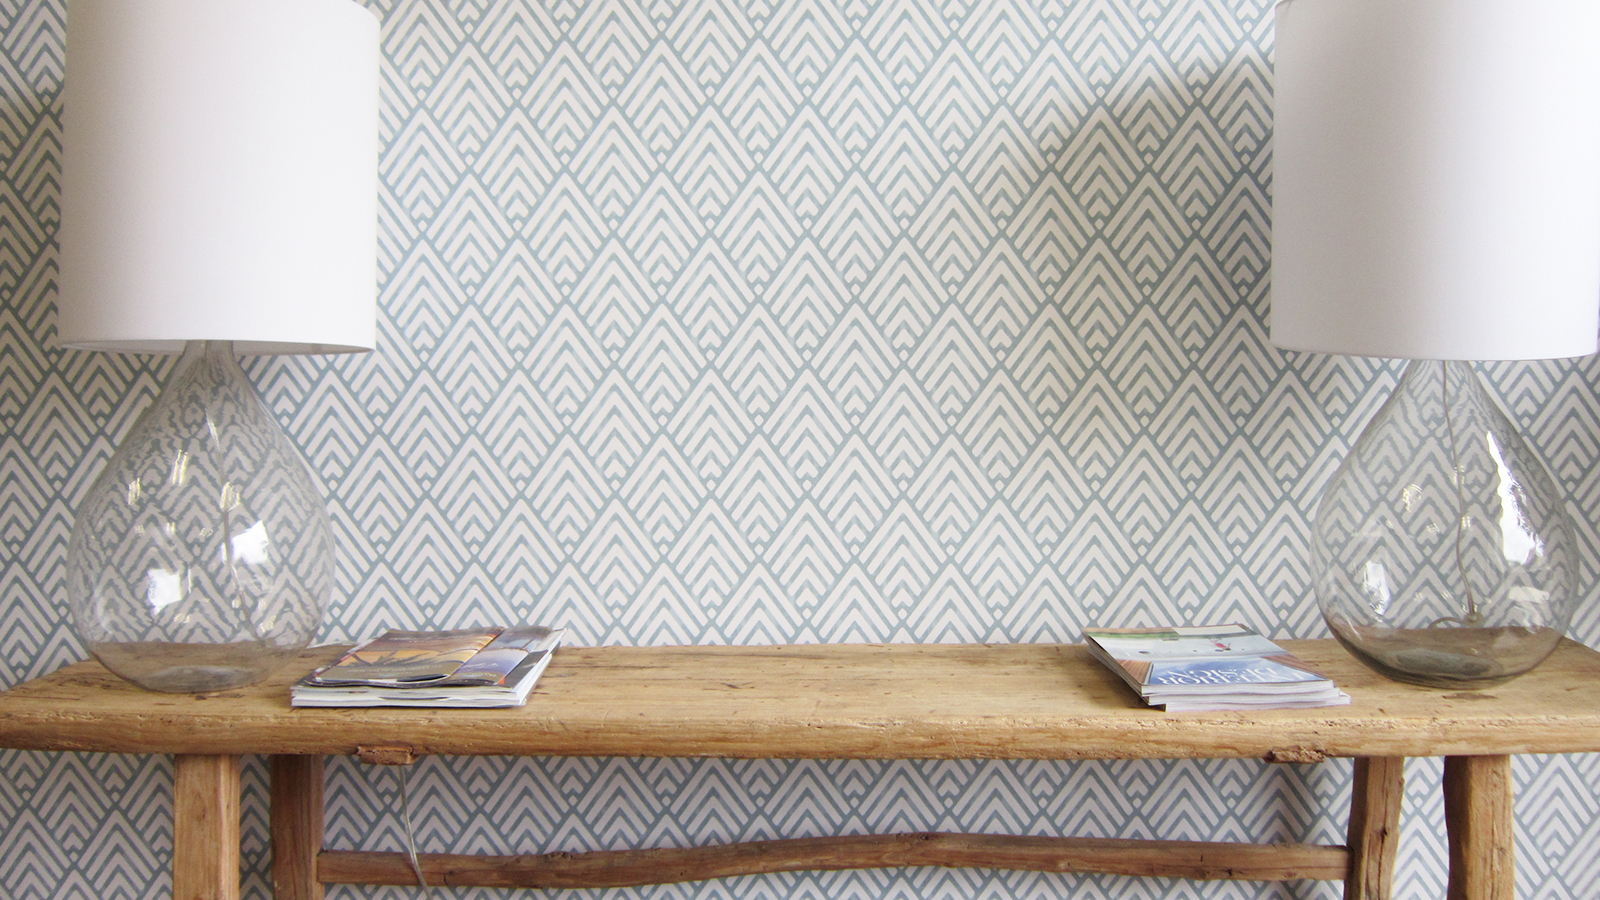
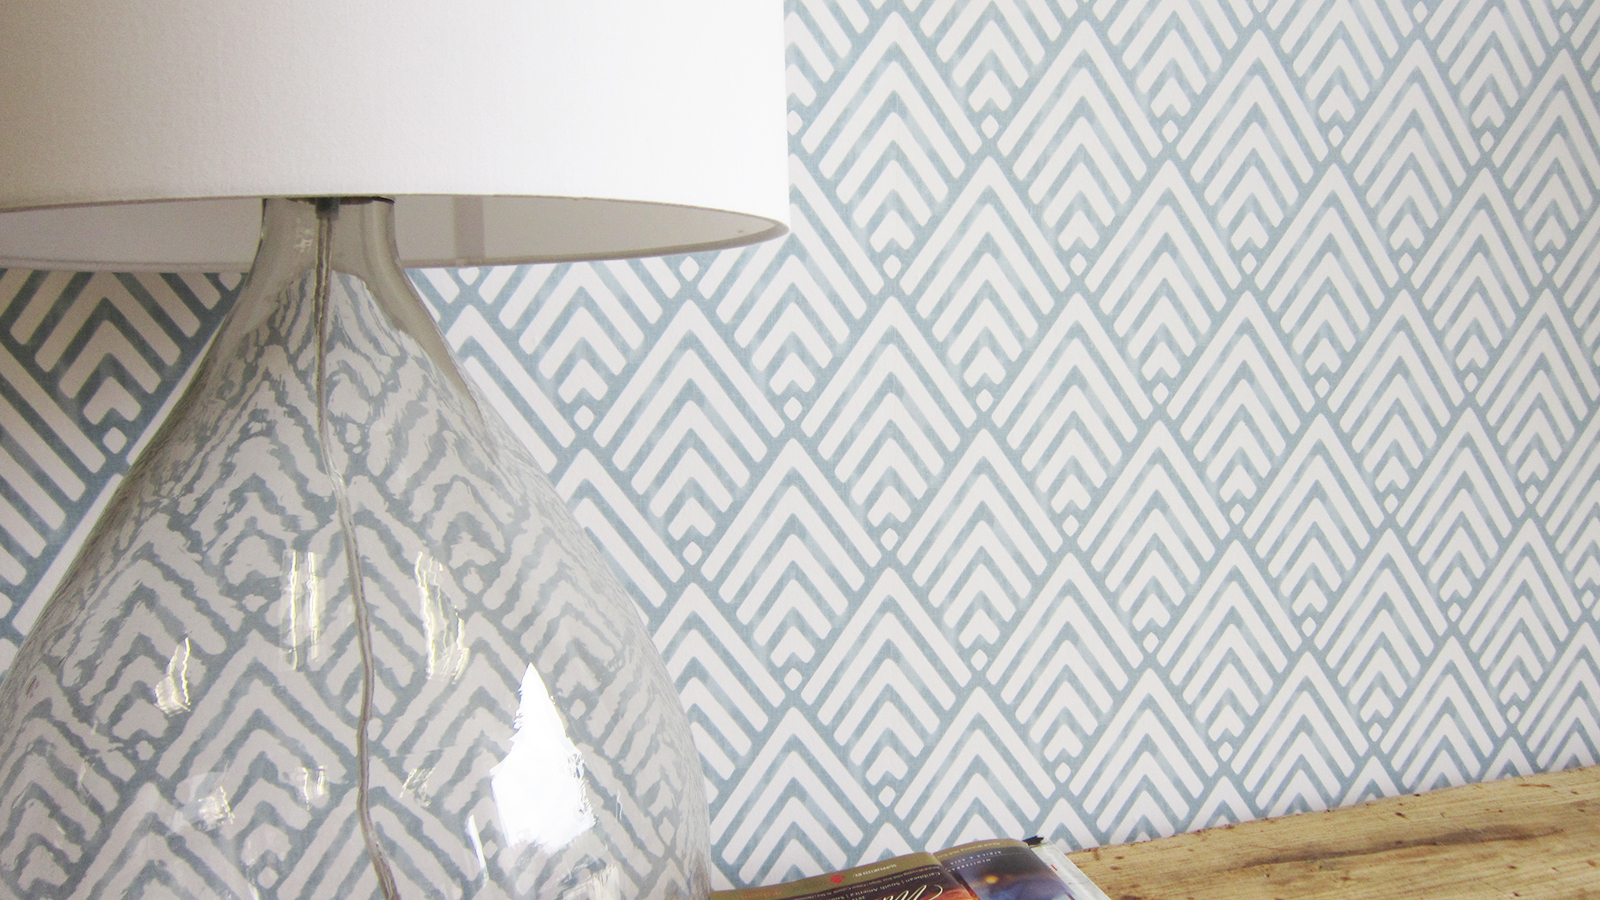
Discover the Beauty of Non-Woven Wallpaper
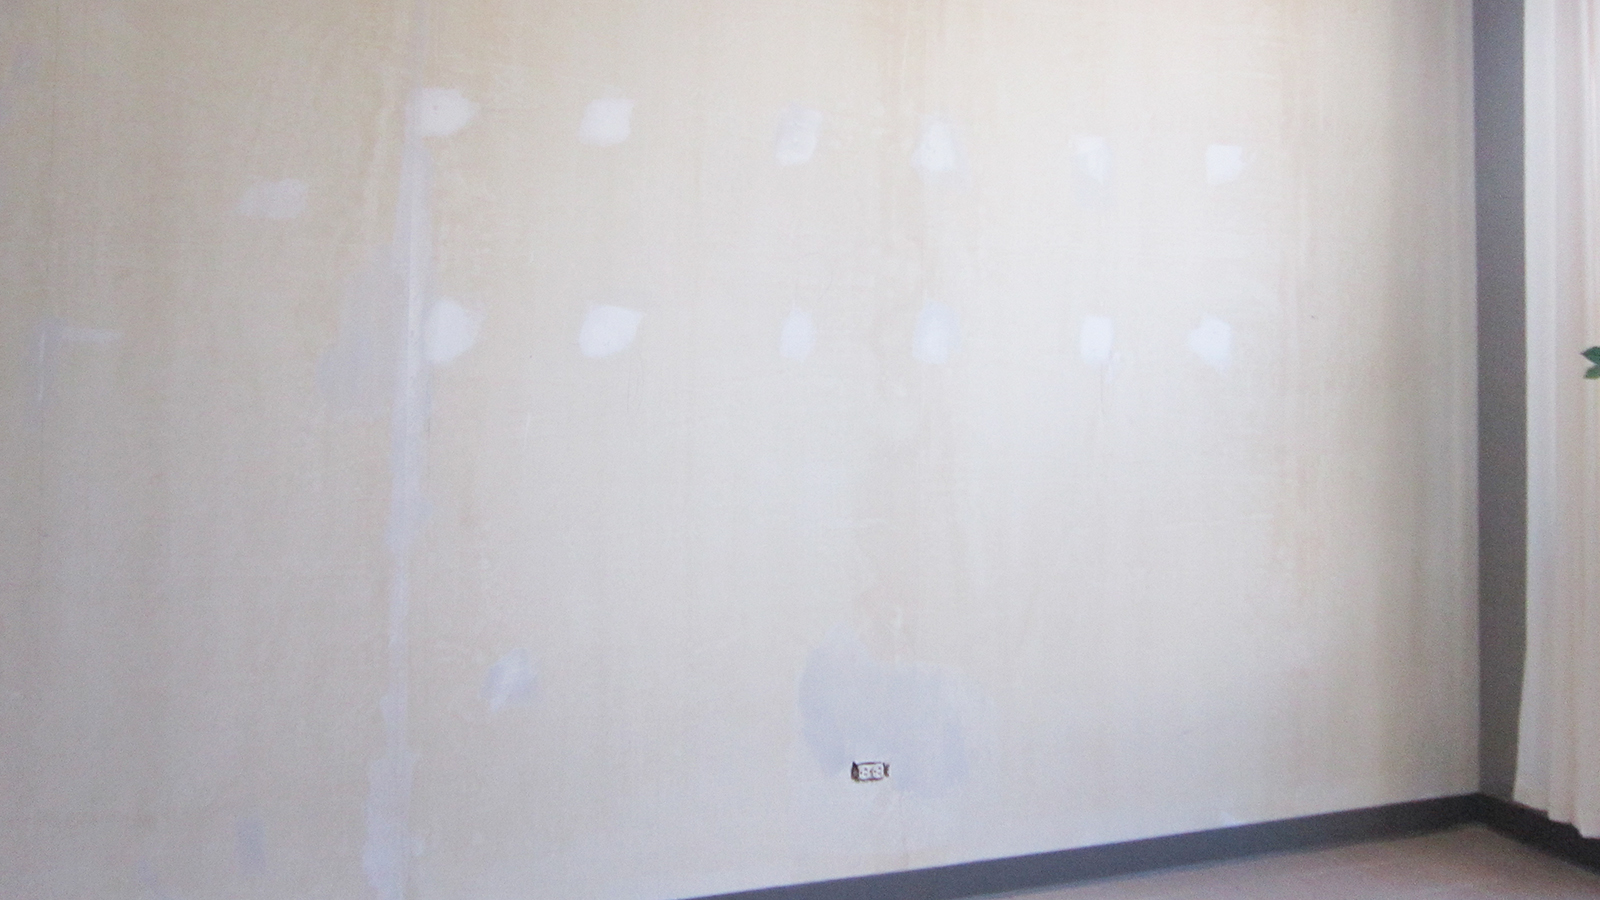
Non-Woven wallpapers are made of a fibrous material, making both the hanging process as well as removal so much easier! They will dry-strip from the wall, usually leaving the wall smooth and abrasion free. Oftentimes vinyl free, this technically advanced substrate makes for a fabulous and environmentally friendly wallpaper option. That said, we wanted to provide you with a simple how to video to show you that hanging and removing your non-woven wallpaper is not a scary feat, rather quite the opposite!
Project Tools: Bucket of paste, paste brush/roller, utility knife, level, clean water & sponge, smoothing brush/smoother, tape measure, straight edge & pencil, step stool
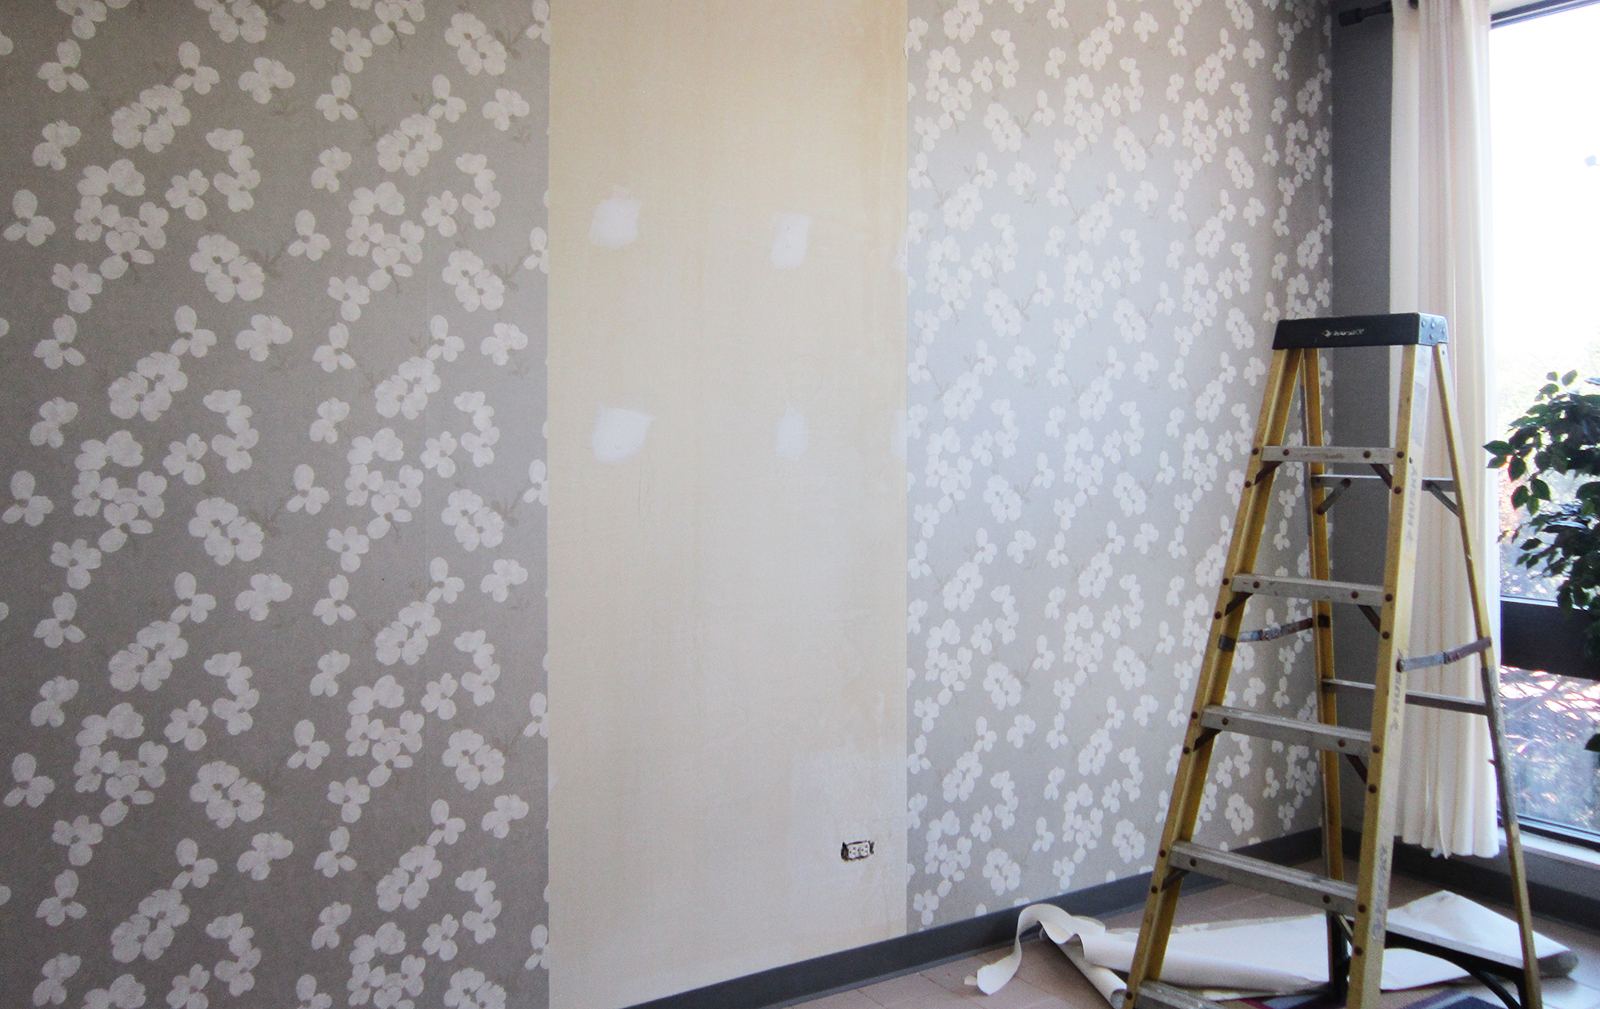
Removing: From the top, simply peel a corner at the seam to remove your entire strip. Use a utility knife if you have trouble finding a corner to start from.
Prepping: Make sure walls are clean of all dust and debris as well as spackle and smooth out any holes or rough areas. With a level, create your first plumb line (the plumb line is the first line that you create to be sure that you hang your wallpaper straight).
Cutting: To cut your first strip, measure the height of the wall adding an additional 4″ for trimming at the top and bottom and then proceed by cutting your wallpaper with a sharp knife or blade.
Hanging: Using a brush or roller, paste the wall. Continue by sliding your wallpaper into position making sure to align with the plumb line. Don’t forget to leave an extra 2″ at the top and bottom.
Tips & Tricks:
– Make sure to match the pattern at the seam
– Use a smoothing tool to smooth into place
– Remove excess paste with a damp sponge
– Trim excess wallpaper with a sharp knife or blade
